Google Scholar
 Researchgate
Custom Fridge Magnets
If you ever wanted to create your own fridge magnets, now is the time. IKEA (at least in the Netherlands) now sells blank fridge magnets. Ever since Ovvemän and I started the iggedisms movement, I wanted to add magnets of our hottest works to my fridge or to have stupid little presents for friends. In this post, I’ll describe how I made them and provide ready-to-use templates for printing. On top of that - and that is the nerdy specialty of this post - I provide instructions on how to use the silhouette portrait machine to do the cutting. You’ll say: “What? Why the fXXk didn’t you just use a plain paper cutter and your hands?” I’m a nerd. I command machinery.
Requirements
Material
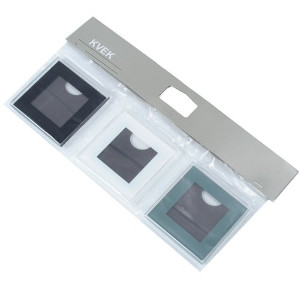
- IKEA fridge magnets (KVEK)
- DIN A4 paper
Tools
- cutter knife
- inkscape (SVG editor)
- printer
- silhouette portrait (optional)
Creating Fridge Magnet Templates
Believe me: you most likely want to make more of those once you finished the first batch. In those situations, I tend to create reusable SVG templates. And you hate pixelized prints, so you use vector graphics in the first place. I do most of my 2D vector graphics stuff with the wonderful free open source software inkscape.
Printing Template
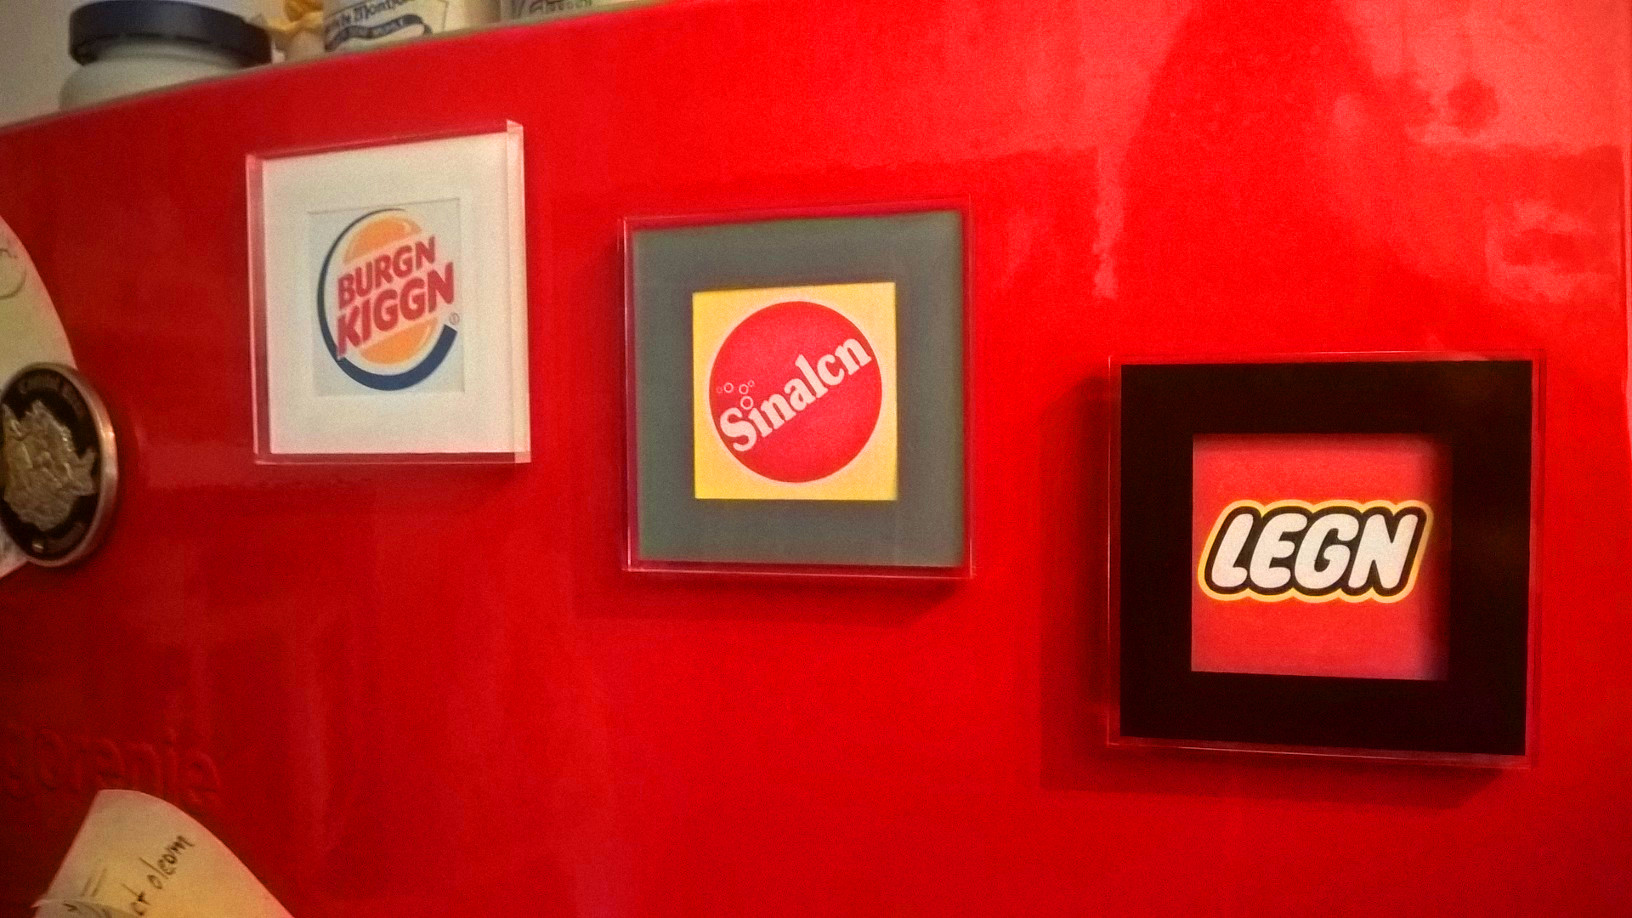
If you’re only going to print and cut manually, your template should have DIN A4 size (21.00 x 29.70 cm), containing as many 4cm x 4cm boxes as you want to produce magnets. In the template shown below, I include three boxes, because IKEA fridge magnet packs include three pieces each.
Download image template (SVG).
Cutting Template
If you want to use the silhouette portrait and silhouette Studio (I use version 3) for cutting, you’ll have to calibrate your template to cutting-offsets. If you use a silhouette transport slide, you’ll find that the machine will perform cuts a couple of millimeters away from their planned destination. These offsets might vary from machine to machine. For my setup, the following offsets worked fine:
- x-offset: -3.5mm
- y-offset: +4.0mm
The blue lines top-left of the boxes describe the box where you’d have to instruct silhouette to cut, so that cut and box are in correct alignment. A silhouette project with the correct cut boxes set is available for download below.
Download cutting template (studio3)
Producing Motives
You can now conveniently use the templates to create your first batch of super-cool custom fridge magnets.
- Select motives, preferably quadratic iggedisms.
- Copy the printing template and save it under a different name (e.g. my-magnets.svg).
- Open with inkscape and fit motives into the boxes.
- Print the resulting sheet. If you cut manually, skip the next two steps.
- Attach sheet face-up on transport slide and insert into silhouette.
- Open provided cutting template and start cutting.
Assembling Fridge Magnets
Unfortunately, the magnet part of the IKEA templates is in most cases not correctly aligned with the quadratic display window. You therefore need to detach and reattach the magnetic part to the right location.
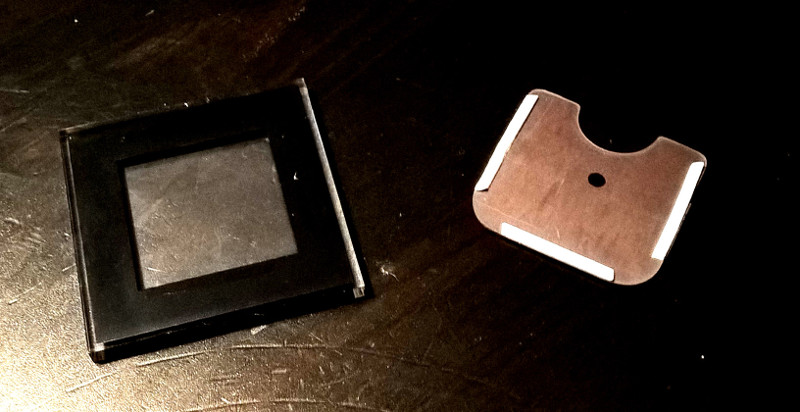
- Stick cut motive into the slot of the magnet template.
- If alignment is not correct, carefully detach the magnetic part from the display part, such that the three glue strips stay on the magnetic part (see figure above).
- Position motive on magnetic part face-up and between the three glue strips. It should perfectly fit (see figure above).
- With eye measure determine the right alignment and reattach magnetic part to display part accordingly.
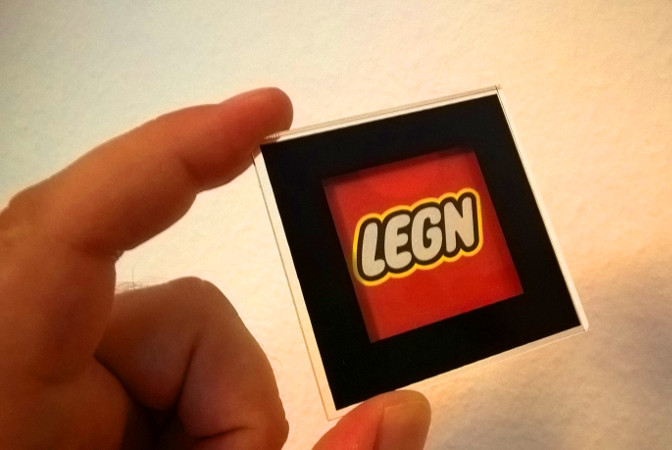
Tadaaaa! Done.